Forgive me, it’s taken a global pandemic for me to find you again… and yet, two years and two kids later, my little piece of the internet remains. It has survived neglect, domain and hosting renewals, lost and recovered passwords, and somehow through the miracle of auto-pay, we find ourselves here, together again. The current […]
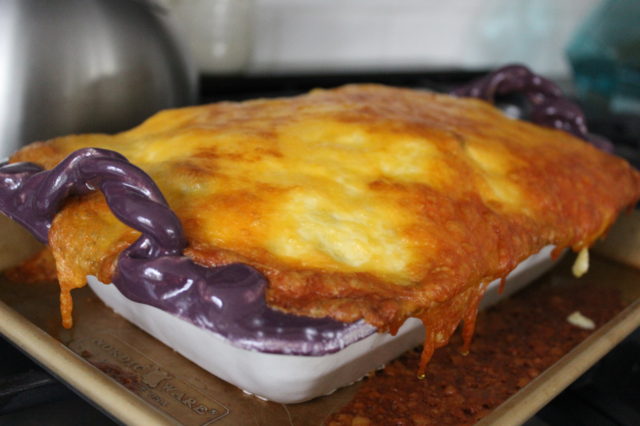
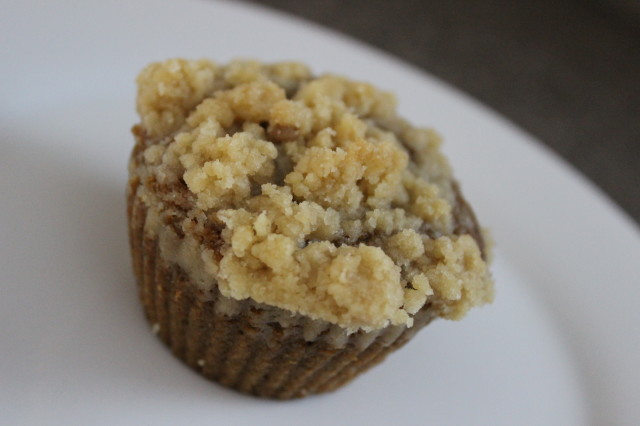
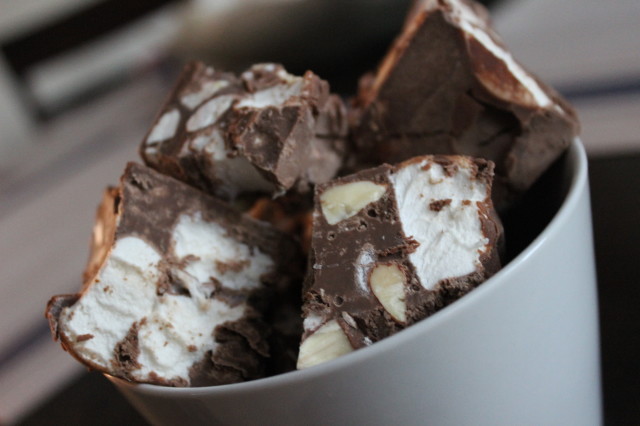
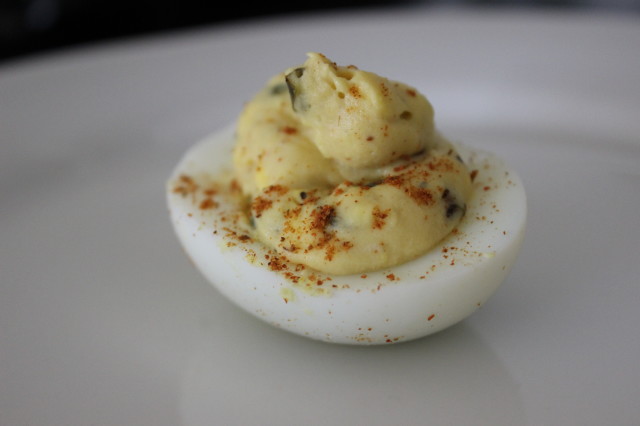
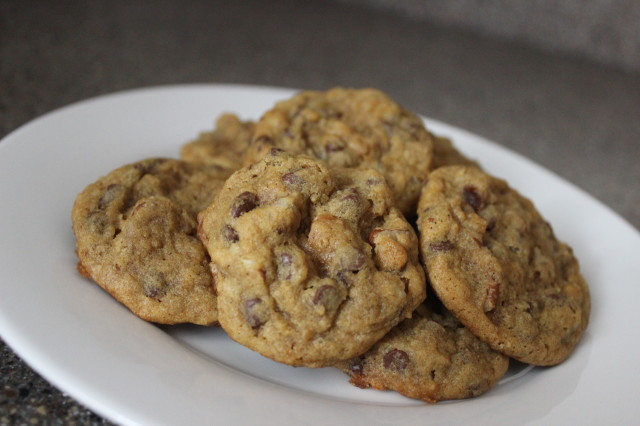
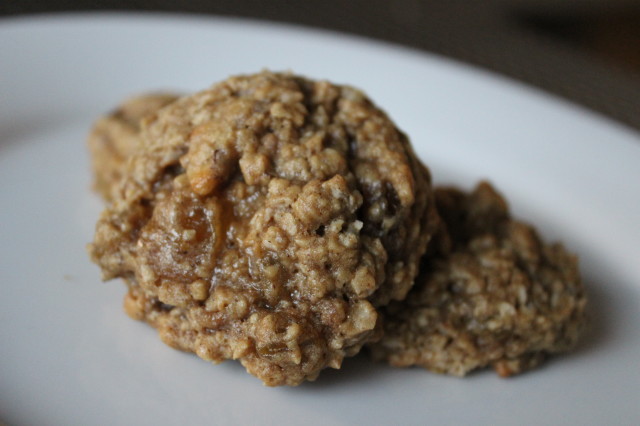
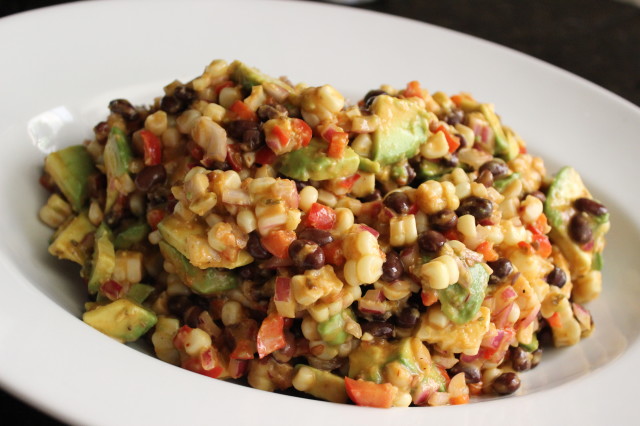
Comfort for your quarantine